
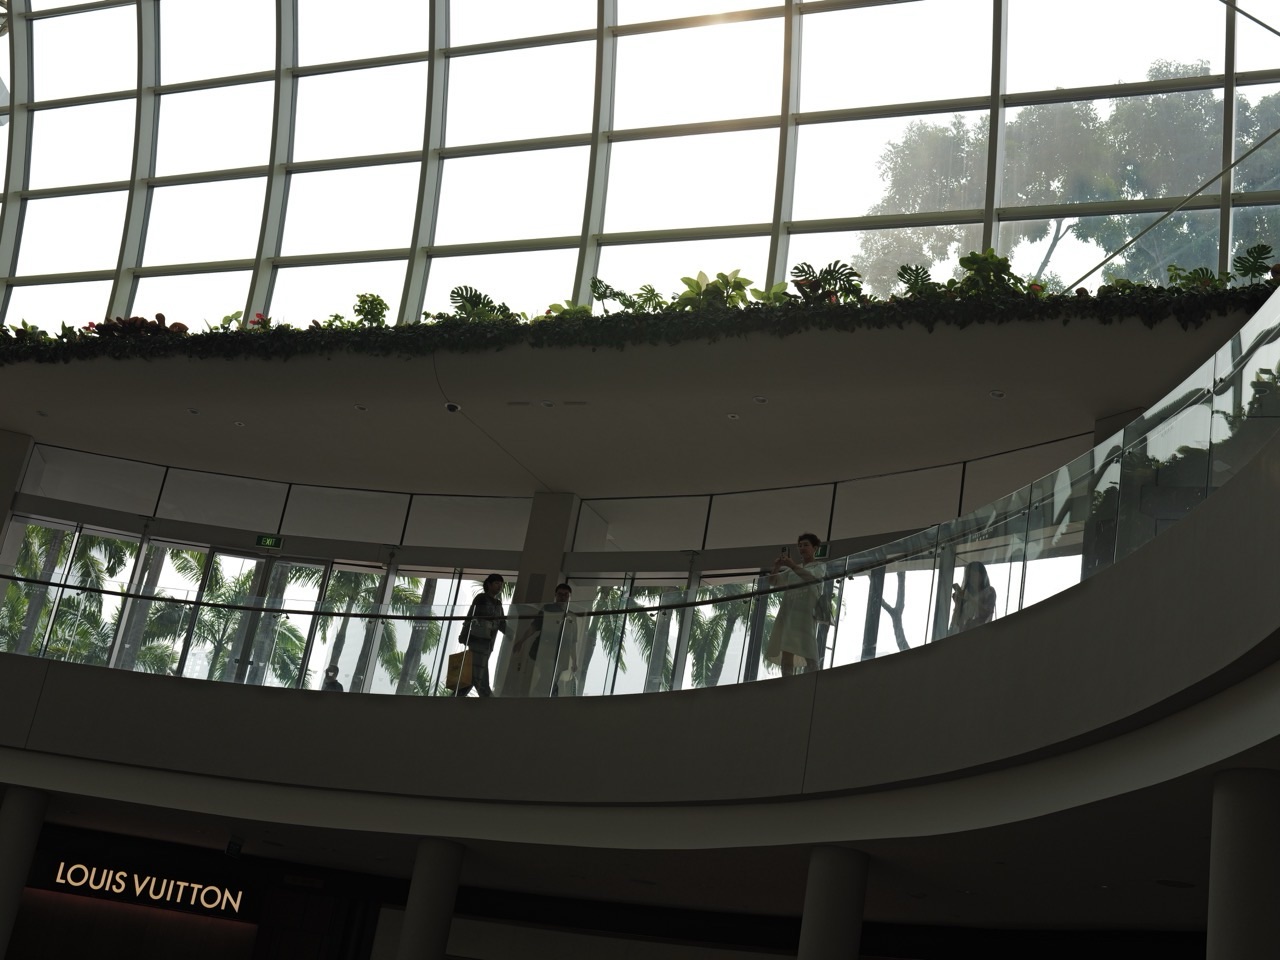
Quick Read. Photographers often describe light emotionally—soft, dramatic, flat, cinematic—but those impressions begin with physical relationships. Light has direction. A source has apparent size. It sits at some distance from the subject. Surfaces reflect, absorb or scatter it. Shadows appear where light is blocked. Change those relationships and the face, room or landscape changes before any camera setting does.
One-sentence answer: Photographic light works by controlling where illumination comes from, how large the source appears to the subject, how strongly it falls, and what shadows and reflections that geometry creates.
Start With One Window
Stand beside a window and turn your face slowly. When you face the window, light fills both sides more evenly. Turn ninety degrees and one side becomes bright while the other falls into shadow. Turn away and the face becomes rimmed or silhouetted. Nothing about the Sun changed during those few seconds. The geometry changed.
This is the simplest useful lighting lesson: before buying lights, notice where the existing light is coming from. Front light, side light, backlight and top light do different spatial work because they illuminate different surfaces and cast shadows in different directions.
Direction Creates Shape
Front light tends to reduce visible texture because shadows fall behind small surface features from the camera’s viewpoint. Side light exaggerates texture by letting bumps, folds and facial contours cast lateral shadows. Backlight can separate an outline from the background or turn the subject into a silhouette. Overhead light can create deep eye sockets and chin shadows.
This is why “good light” is incomplete language. Good for what? A passport photograph wants even legibility. A dramatic portrait may want deep side shadow. A product photograph may need controlled reflections. A landscape photographer may wait hours for low-angle light to reveal terrain.
Hard and Soft Are About Apparent Size
A small source as seen from the subject creates relatively hard-edged shadows. A large source creates softer transitions because light arrives from a broader range of angles. The Sun is physically enormous, but because it is extremely far away it appears small in our sky and can produce hard shadows on a clear day. A large overcast sky acts as a much larger apparent source and softens those transitions.
Bring a softbox close and it appears enormous to the face. Move the same softbox far away and it appears smaller, making shadows more defined. Softness therefore depends on source size relative to the subject, not on whether a modifier carries the word “soft” in its product name.
Soft Light Does Not Mean No Shadows
Soft light still has direction. It can create gentle gradients across a face and visible shadow under a jaw. Nikon’s portrait-lighting examples make this practical distinction clear: bounced or modified light can be soft and forgiving while remaining directional enough to model form.
Flat light is different. If illumination arrives broadly from many directions at similar strength, shape cues can diminish. Softness describes the edge transition of shadows; flatness describes low directional contrast. The two often travel together but are not identical.
Distance Changes Intensity Fast
For a point-like source in open space, illuminance follows an inverse-square relationship: double the distance and the light spreads over roughly four times the area, so illumination drops to about one quarter. Real modifiers, rooms and reflective surfaces complicate the ideal model, but the practical lesson survives—moving a lamp close to a subject changes not only softness but falloff.
Place one person close to a small flash and another person much farther behind. The front person may be dramatically brighter. Move the source farther from both and the difference between their distances becomes proportionally smaller, so their illumination becomes more even. Studio lighting is geometry disguised as taste.
Bounce Turns a Wall Into a Source
Point a flash at a white ceiling or wall and the surface can become the new effective light source. It is now much larger than the bare flash head and comes from a different direction. This is why bounce flash often looks more natural than direct on-camera flash. Nikon’s flash guidance emphasises exactly this: bouncing changes both apparent source size and direction, reducing harsh shadows and glare.
But bounce is not free. A coloured wall can tint the light. A high ceiling can waste power. The new direction may create shadows under eyes. The photographer still has to observe the result rather than worship the technique.
Fill Light Changes Ratios, Not Reality
A fill light or reflector raises shadow brightness without necessarily changing the key light’s direction. This reduces contrast. It can preserve facial detail, soften a harsh midday portrait or control product shadows. The important quantity is often the ratio between key and fill rather than either source alone.
Add too much fill and the photograph can become flat. Add too little and shadows may lose useful detail. Lighting design is often the art of deciding how much difference between light and shadow the subject can carry.
Specular and Diffuse Reflection
Matte surfaces scatter light broadly. Glossy surfaces preserve more directional reflection. This is why metal, glass, skin and polished food can show bright highlights that reveal the shape and location of the light source itself. In product photography you are often not lighting the object directly so much as designing what the object reflects.
Move a rectangular softbox and its bright shape slides across a bottle. Rotate the bottle and the highlight changes again. The camera is recording a conversation between illumination and material.
Natural Light Is Still Lighting
Natural-light photographers sometimes speak as if studio lighting is artificial manipulation while daylight is neutral. But a photographer who places a subject beside a window, turns them toward open shade, uses a white wall as fill or waits for sunset is shaping illumination through position and time.
The difference is mostly which sources you control directly. The thinking is the same: direction, size, distance, colour and intensity.
Three Experiments
- Window rotation. Photograph the same face toward, sideways to and away from one window. Compare shadow direction and facial shape.
- Source-size test. Use the same lamp bare, then bounced from a large white surface. Keep exposure comparable and inspect shadow edges.
- Distance falloff test. Put two identical objects one behind the other. Light them from close range, then move the light much farther away. Compare brightness difference between front and rear objects.
Common Misconceptions
- “Soft light comes from weak light.” Softness is primarily about apparent source size, not low intensity.
- “Soft light has no shadows.” It has broader shadow transitions; it can still be strongly directional.
- “Natural light is automatically better.” Quality depends on geometry and job, not origin.
- “Bounce flash just makes flash dimmer.” It changes the effective source size and direction as well.
- “More fill is safer.” Too much fill can remove useful modelling and depth.
From Beginner to Advanced
At beginner level: learn to see direction and shadow. At intermediate level: add apparent source size, falloff, key-to-fill ratios, reflection and colour. At advanced level: study radiometry, photometry, polarisation, BRDFs, inverse-square limits, lighting ratios, spectral power distributions and physically based rendering.
The deeper the theory becomes, the more useful the first habit remains: before changing settings, look at the shadow. It tells you where the light came from.
For Parents and Teachers
Lighting is one of the cheapest science laboratories available. One lamp, one white card and one object are enough to investigate direction, shadow, reflection and distance. Ask students to predict the shadow before moving the source. Then make the photograph and compare.
That turns “beautiful light” into observable cause and effect without destroying the beauty.
The Final Idea
Mood is what we feel after light has done its physical work. First the source occupies a position. First it has a size. First it strikes one surface and misses another. Learn those mechanics and dramatic, gentle, severe or intimate light stops being mysterious. Light has direction before it has mood.
Photography route: This article is part of eduKate’s Photography knowledge estate. Return to the canonical Photography Knowledge Map for the wider connected system.