
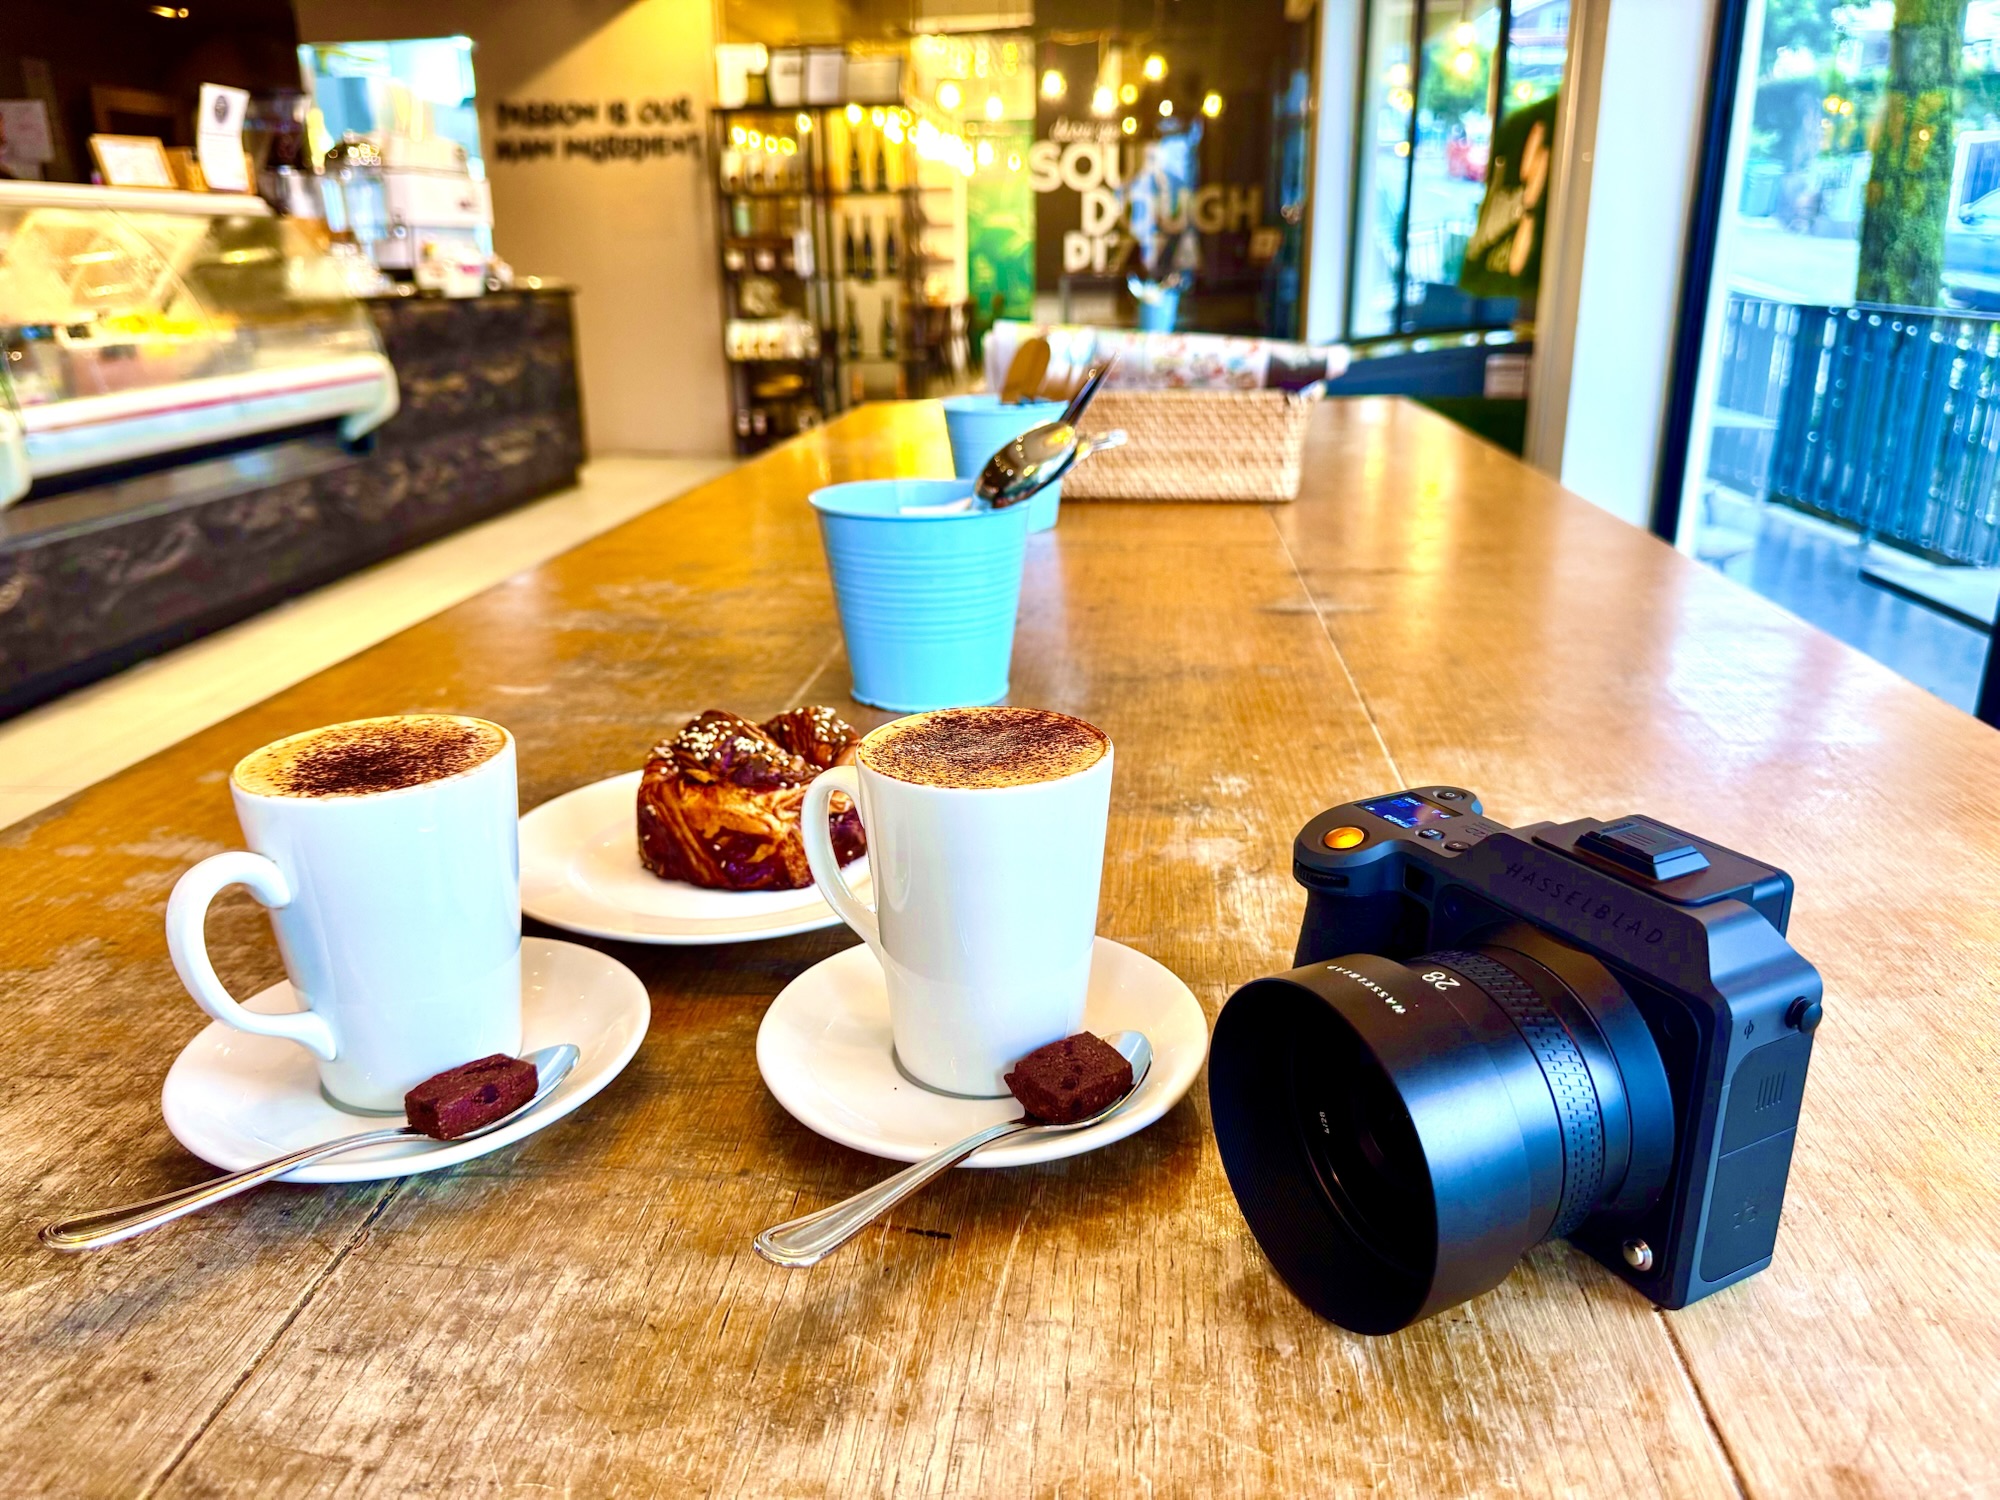
Photography is more than owning a camera. The most important decisions begin before the shutter is pressed: what deserves attention, which details matter, how will the image be used, and how can the photographer respect the people and places in front of the lens?
This guide follows a beginner’s journey from visual observation and exposure to ethics, image rights, editing and archiving. A single scene can teach more than dozens of unexamined pictures when the photographer changes one deliberate choice at a time.
In the eduKate Gold Standard framework, quality depends on repeatable management, not a claim of artistic perfection. This guide addresses photography as an activity; Photography Services covers client handover and commercial service delivery, while Drawing explores another way of training observation.
Find the photography skill you need
Start with seeing, focus on exposure, or move directly to rights, responsible editing and safe archiving. Each chapter connects a visible result to a practical improvement.
Chapter index
See and prepare: chapters 1–4
Learn camera craft: chapters 5–9
Respect subjects and rights: chapters 10–13
Edit, retain and improve: chapters 14–17
1. A photograph needs a reason to exist
The gold standard of photography is not the number of megapixels, the size of a lens or how dramatic a picture looks on a phone screen. It begins with a decision: what are we trying to show? A family portrait preserves a relationship; a street photograph documents a moment; a classroom image may explain a process; a photograph of damage may provide evidence. Each purpose changes what must be visible and what would make the image misleading.
Imagine a learner standing by the Singapore River with a phone. The first picture contains a bright sign, a tilted horizon and a passer-by blocking the subject. The learner takes twenty more images without deciding why. A better attempt begins by naming the intended subject—perhaps the way a bridge frames the river—and choosing where to stand so that the essential relationship is visible.
Professional images and personal pictures do not need identical production standards. Both, however, benefit from deliberate observation, safe behaviour, respect for people and honest editing. Good management of photography means the result can be understood, revisited and used appropriately without creating avoidable problems.
Back to contents · Next chapter
2. Learn to see the scene before raising a camera
A camera records a limited rectangle. The photographer’s first task is to select from everything in front of them. Ask which object, person or relationship matters most. Notice shapes, shadows, distractions, reflections and the edges of the scene. Moving a few steps can change the story more than changing the camera.
A useful observational exercise is to spend one minute without taking a photograph. Describe the light direction, main colour groups and three competing elements. Then take a single frame intended to tell the original story. Review whether a viewer can identify the subject without an explanation. The exercise develops visual decision-making instead of rewarding frantic shutter pressing.
Care about what the frame leaves out. A photograph of a crowded train platform can make a place appear busier or emptier depending on position and timing. That is normal framing, but it raises a responsibility when the photograph will support a factual claim. Know whether you are making art, recording evidence or illustrating an article; the context determines what honest presentation requires.
Back to contents · Next chapter
3. Choose equipment to match the photographic problem
A phone is enough to learn framing, timing and light. An interchangeable-lens camera can provide additional control, but it adds weight, expense and technical decisions. Start with the subject and expected use: sharing images with family, photographing a school project, capturing distant wildlife or making large prints are not the same task.
Camera ergonomics matter more than fashionable specifications. Can the photographer hold it steady, review focus, work comfortably in the available lighting and carry it safely? A complex camera that is left at home because it is too inconvenient may teach less than a readily available one used with care.
Borrowing or renting equipment for a specific need can be more rational than buying before understanding the limits of existing tools. A useful rule is to write the problem first: ‘The bird remains too small in the frame at an ethical viewing distance.’ Only then decide whether a different lens or technique is justified.
Back to contents · Next chapter
4. Understand exposure without worshipping manual settings
Photographic exposure describes how much light reaches the imaging system and how it is recorded. Aperture, shutter speed and ISO interact with one another, but they do different jobs. Aperture changes the amount of light admitted and can influence depth of field; shutter duration affects how movement is rendered; ISO setting affects amplification or rendering sensitivity and often noise performance.
Modern automatic exposure can be highly capable. A learner does not need to switch immediately to full manual mode to make meaningful pictures. First notice when the camera makes an unhelpful choice—for example, a bright window leaving a person’s face too dark—and then adjust exposure compensation, metering or lighting as appropriate.
The standard is intentional control, not a particular mode label. If the photograph clearly conveys the scene with automatic settings, there is no prize for making the process harder. If the subject is blurred or important details disappear, diagnose whether the cause was movement, focusing, contrast or exposure before randomly changing three controls.
Back to contents · Next chapter
5. Use shutter choice to tell the truth about movement
A fast shutter can freeze a cyclist passing through a scene. A slower exposure can show a blur of moving water or lights. Neither is intrinsically more professional; each communicates time differently. The problem is when unintentional camera shake obscures a subject that needed to remain clear.
Try photographing a harmless moving subject in good light, such as someone walking across a safe open area, with permission. Compare one frame that freezes motion with another that deliberately shows it. Notice the role of subject speed, camera stability and the chosen shutter duration. Do not run into traffic or move unpredictably just to obtain the angle.
Review the whole image at a useful magnification rather than judging sharpness only from a tiny preview. The photographer should be able to explain whether motion blur was chosen or accidental. That distinction is evidence of learning.
Back to contents · Next chapter
6. Learn aperture and depth of field as storytelling choices
Some photographs benefit from a clearly visible background: an architectural study may need the surrounding street, while a portrait may need the subject separated from distractions. Aperture is one tool for influencing how much of the scene appears acceptably sharp. Subject distance, focal length, sensor characteristics and focus placement also contribute.
A beginner can learn by photographing a mug on a table from the same position while changing the available depth-of-field controls. Compare the mug and background. What becomes less visible? Which version serves the purpose? This exercise develops the habit of testing a specific hypothesis rather than copying settings from a famous photographer.
Do not mistake a blurred background for automatic artistic quality. A clean subject can look elegant with a visible environment too. The correct decision follows the story: if the setting explains who or where the subject is, removing it may weaken the picture.
Back to contents · Next chapter
7. Treat focus as a meaningful priority
Autofocus systems can detect faces, eyes, objects or regions, but they do not know what the photographer considers important in every scene. A portrait with sharp background signs and a blurred subject may be technically processed but unsuccessful. Decide what needs attention, select an appropriate focus method and review the result.
Low light, reflective surfaces and moving subjects can make focus more difficult. Instead of blaming the equipment immediately, consider whether contrast is sufficient, whether the subject moved and whether the selected focus area belongs to the intended subject. A stable position and thoughtful timing can be more useful than an expensive upgrade.
Focus can also be a narrative tool. A foreground object made sharp against a softer background may draw attention to texture. A deliberately blurred frame can be artistic, but should be recognisable as a choice. Quality means the photographer understands why the image appears the way it does.
Back to contents · Next chapter
8. Use composition to organise attention
Composition is how shapes, spaces, lines and subjects relate within the frame. The rule of thirds is one learning aid, not a mandatory grid that every valuable image must obey. Central symmetry may suit architecture. Negative space may express quiet. Leading lines may help a viewer follow a walkway toward the subject.
Find three compositions of the same scene: a wide contextual frame, a closer detail and one showing a relationship between foreground and background. Keep the camera at a safe, permitted position. Review which photograph best answers the original question and why. This is an efficient exercise because the subject remains constant while the visual decision changes.
Edges deserve particular attention. A half-visible distraction or awkward crop may undermine the intended frame. Learn to scan all four sides before taking the picture. When people are in the scene, also consider whether the framing treats them respectfully and whether you have appropriate permission for the intended use.
Back to contents · Next chapter
9. Read natural and artificial light deliberately
Light changes colour, contrast and form. A building facade photographed with strong midday sunlight can show hard shadows, while soft cloud cover can reduce contrast. In a classroom, fluorescent or mixed lighting may create colour shifts. A photographer should learn to identify the dominant light source before deciding on settings or editing.
Try a three-frame comparison of the same object from the same safe position at different times or under different lighting conditions. Note which details become visible and which disappear. Avoid moving a person into an uncomfortable or unsafe place merely because the light appears dramatic.
Flash and additional lighting are not universally allowed. Museums may prohibit flash to protect collections or maintain the visitor experience. The National Museum of Singapore’s photography rules allow private non-commercial still photographs but prohibit flash and selfie sticks in its galleries, with other restrictions. Always check venue rules before deciding how to light a scene.
Back to contents · Next chapter
10. Make people photography a relationship, not extraction
A portrait is not simply a face isolated from context. It involves communication, boundaries and often an ongoing relationship. Explain the purpose of the photograph, how the image may be used and whether the person is comfortable participating. Children and vulnerable people require particular care, including appropriate parental, institutional or other consent arrangements for the intended use.
An everyday picture taken privately among friends is not the same legal situation as an organisation collecting images for promotion. Privacy and data-protection requirements may depend on context and the nature of the use. It is unwise to claim either that every public photograph requires identical consent or that being outdoors makes every reuse lawful.
When in doubt, favour transparency and respect. Avoid photographing people in distress for entertainment. Ask before turning a personal moment into an advertisement. A photographer can create strong work without insisting that other people’s boundaries are obstacles to art.
Back to contents · Next chapter
11. Know the difference between an image and permission to use it
Finding a photograph online does not make it free to republish. The Intellectual Property Office of Singapore explains that copyright protects photographs as artistic works. The IPOS ownership guidance describes the general position that creators own their work, subject to circumstances such as employment and contracts.
Licences, commission terms and permitted uses matter. A photographer can own copyright yet be subject to privacy obligations and agreed restrictions. A school using a photographer’s images for enrolment marketing should not assume that paying the photographer automatically settles every right, data-protection concern or consent question.
Maintain simple records: who created the image, whether permission was given for its intended use, what licence applies and when further approval may be required. Attribution is good practice but does not automatically replace permission. These records prevent a pleasant creative project from becoming a dispute later.
Back to contents · Next chapter
12. Respect locations, wildlife and other visitors
A compelling landscape photograph is not an excuse to cross barriers, damage plants, approach wildlife or occupy a passageway with equipment. The NParks photography guidance identifies photography opportunities in Singapore’s parks and states that commercial photography or filming requires an advance permit. Venue-specific instructions also apply.
Wildlife photographers should use distance and patience rather than feeding, disturbing nests or pushing animals into a chosen position. Stay on designated trails in protected areas and follow posted operating hours. If a subject cannot be photographed without disturbing it, accept a different composition.
The National Museum and other venues set their own photography rules. A photographer should check whether tripods, flash, filming, commercial shoots or equipment setups are restricted. Responsible craft protects the location and its visitors, not only the photographer’s portfolio.
Back to contents · Next chapter
13. Edit the image to support its purpose and disclose meaningful changes
Basic editing may involve careful crop, exposure, colour and contrast adjustments that help a picture communicate. More substantial changes—adding or removing people or objects, replacing a sky or altering evidence—can change what a viewer believes happened. The acceptable boundary depends on the purpose and the promised degree of authenticity.
A personal artistic composite can be legitimate when represented as creative work. It should not be offered as a documentary photograph of a real event without disclosure. The same concern applies to AI-generated imagery presented as a real photograph. Good practice is to label material alterations whenever an audience could reasonably mistake them for observed reality.
Keep the original file where practical, especially for journalistic, scientific, educational or dispute-related uses. Maintain a clear editing trail for important work. Artistic freedom and factual honesty can coexist if the audience is told which kind of image it is seeing.
Back to contents · Next chapter
14. Build a file workflow that survives lost devices
Photographs have little lasting value if the only copy disappears with a misplaced phone. Establish a manageable way to import, select, name, back up and retrieve files. Avoid relying entirely on a camera card that may be reused tomorrow. Verify that important files copied successfully before deleting originals.
A useful folder system can use date and subject—for example, ‘2026-10-neighbourhood-study’—with selected images separate from raw captures. Metadata can help retrieve images but may also reveal sensitive location or device information. Decide what should remain in public exports, especially for images of children, homes or private events.
A good backup is more than an icon saying ‘sync complete’. Confirm that the files can actually be opened from the backup, and use an additional independent copy for important archives. A photographer who cannot locate a promised photograph a month later has a management problem even if the initial picture was excellent.
Back to contents · Next chapter
15. Give feedback that changes the next photograph
Photography criticism works best when it starts with the maker’s purpose. If the task was ‘show how the pedestrian bridge relates to the river’, discuss whether that relationship is visible. A vague statement such as ‘nice shot’ is encouraging but not informative. A remark such as ‘the bridge is obscured by the foreground sign; try a lower safe viewpoint’ suggests a testable improvement.
Use a small critique sequence: intention, visible evidence, strongest element, one distracting element and one next experiment. Do not replace the student’s style with the reviewer’s personal taste. A black-and-white image, a blurred edge or an unconventional crop can be entirely appropriate when it serves an understood intention.
The best learning happens when the student retakes the photograph and compares outcomes. Improvement is not counted by likes or followers. It is seen in clearer choices and the ability to explain how the new image better communicates the intended idea.
Back to contents · Next chapter
16. A four-week photography practice with one recurring subject
Week one: take several pictures of the same ordinary subject—such as a mug, a bench or a building—using different viewpoints. Week two: concentrate on changing light while keeping a consistent location. Week three: practise composition, focus or movement with one variable changed at a time. Week four: select a small sequence and write a caption explaining its purpose.
Use a simple log for each chosen frame: what I intended, what the image actually shows, what prevented clarity and what I would change. Keeping the subject familiar avoids the impression that progress requires a constant stream of new attractions or expensive trips.
These exercises are examples, not a certification curriculum. A learner may need more time with one topic or may already have advanced experience. The principle is deliberate practice: test a visual decision, observe the result, keep the useful choice and repeat. That approach makes a camera a learning tool rather than a device for collecting unexamined files.
Back to contents · Next chapter
17. The gold standard is a photograph that can be trusted and understood
A remarkable image may be made quickly, but reliable photographic craft is learned through many ordinary decisions. The photographer notices, chooses, composes, exposes, checks, edits and delivers without ignoring the people or places involved. Each decision can be improved; none is made excellent by ownership of an expensive camera.
Good photography can entertain, document, teach and preserve memory. Those purposes deserve different styles yet share a core discipline: make the picture say what you intend and do not create a false claim about what happened. A personal archive also deserves organisation so that the image remains useful later.
The Gold Standard of Photography therefore means intentional seeing, competent use of tools, ethical treatment of subjects, honest representation and a practical process that works the next time. The goal is not flawless art. It is growing capability with responsibility.
The same scene, three different photographs
A useful exercise uses a safe, permitted viewpoint toward a city building and a tree. These are illustrative frames to plan, not photographs claimed to exist.
| Intention | Framing decision | Review question |
|---|---|---|
| Show the building’s relationship to its surroundings | Wide composition, enough visible context | Can a stranger understand the setting? |
| Describe a detail | Closer composition, deliberate focus | Is the meaningful texture actually sharp? |
| Show change in light | Repeat a similar frame at another suitable time | What changed because of light rather than viewpoint? |
| Explain a factual condition | Preserve relevant context and original file | Could the crop or edit mislead a viewer? |
Photography readiness and integrity checklist
- I can state the photograph’s intended subject and use.
- I have checked that this location permits the intended kind of photography.
- I can safely position myself without obstructing others.
- I understand which setting or compositional decision I am testing.
- I am respectful of identifiable people and applicable consent requirements.
- I know that online access to an image does not automatically give reuse rights.
- I can distinguish normal creative edits from alterations that may mislead viewers.
- I have a reliable plan to preserve, retrieve and share the chosen files.
Official sources and further reading
- IPOS: Introduction to Copyright — photographs and protected works
- IPOS: Ownership and Commercialisation — ownership, rights and permission
- NParks: Photography in Parks — locations, permits and nature etiquette
- National Museum of Singapore: Filming and Photography — venue-specific restrictions
- eduKate: Photography Services
- eduKate: Gold Standard Master Hub
This educational guide is not legal advice. Copyright, personal data, child-protection requirements and venue rules depend on the circumstances of each proposed photograph and its intended use.