
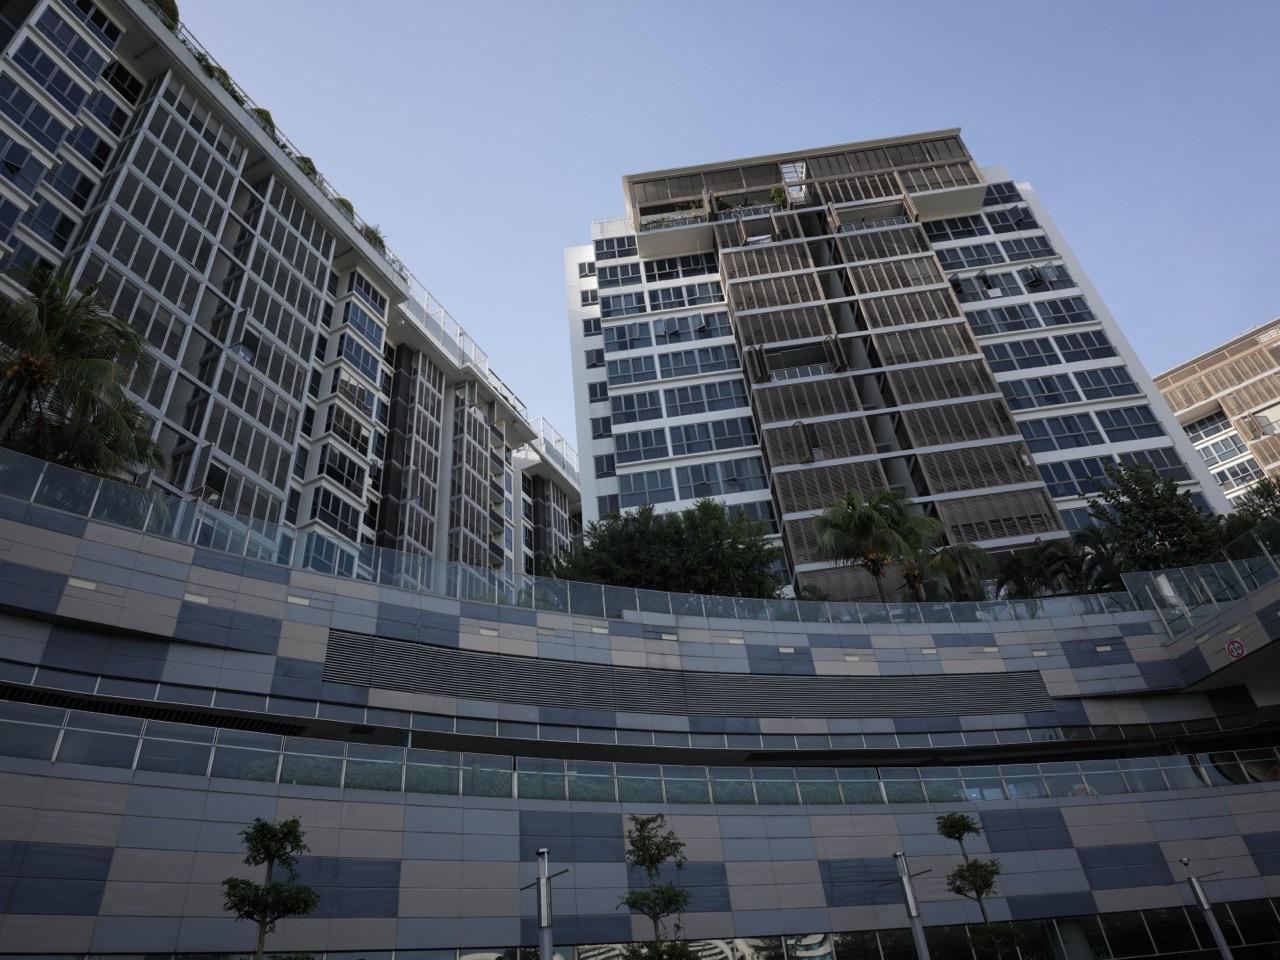
When you collect the keys to a new private condo in Singapore, find the defects clause in your Sale and Purchase Agreement (S&PA) and identify the date it uses to start the defects liability period. The unit period is generally 12 months under the prescribed forms. The start date and the deadline for common property can depend on which form applies. Take photos, test the fittings you can safely operate and send the developer a written report using the procedure in your agreement.
URA announced revised forms for projects launched for sale on or after 31 December 2026, where no Option to Purchase was issued before that date. The revised terms change the start-date calculation and can give common property a longer period. A 2027 key collection date alone does not identify the applicable terms. Check the signed agreement and the notice you received before setting your reporting calendar.
- Identify the agreement version and the date the relevant notice was received.
- Inspect the unit before renovation covers up finishes or fixtures.
- Record each issue with a location, date and photos.
- Use the developer’s reporting channel and follow the S&PA notice requirements.
- Check common-property issues and contractual escalation separately.
Find the section you need
Go to the first chapter to establish your dates, or to the inspection and reporting chapters if your appointment is already booked.
Chapters 1–3
Begin with the complete S&PA and the handover notice. Note when the project was launched for sale, the project’s option history if known, and which form you signed. Ask the developer or your conveyancing lawyer to identify the applicable clause. A unit bought late in an older project may still use the earlier prescribed form, even if the option was issued to you in 2027. URA’s transition guidance looks at whether any options had already been issued for the project before the change took effect.
Earlier prescribed terms
URA’s earlier Home Buyers’ Guide describes a 12-month period beginning on the earlier of actual delivery of vacant possession and the 15th day after receipt of the relevant notice confirming Temporary Occupation Permit (TOP) and completion of the infrastructural works. Use the exact notice or document trigger specified in your agreement. The issuance date of the TOP, the date a notice was received and the date you picked up keys can be different days.
Revised prescribed terms
URA says the amended terms use the earlier of actual delivery of vacant possession and the 35th day after you receive the TOP payment notice as the start date. URA says the individual unit period stays at 12 months. Under the revised terms, the common-property deadline is the later of 12 months from the start date and six months after the first annual general meeting (AGM). Keep those two deadlines on different lines and confirm your dates with your lawyer when necessary.
What to save now
Keep the signed agreement, the relevant notice and evidence of when you received it, and the handover record showing actual delivery of vacant possession. If a developer portal gives an expiry date that differs from the calculation you expected, ask for written clarification and keep reporting promptly in the meantime. Calendar entries with the source of each date are easier to verify than a single reminder called “warranty ends.”
| Agreement | Dates to verify |
|---|---|
| Earlier prescribed terms | Vacant possession and the 15-day trigger under the contract |
| Revised terms for qualifying projects | Vacant possession and the 35-day trigger after receipt of the TOP payment notice |
| Common property under revised terms | Later of 12 months from the start date and six months after the first AGM |
Back to contents · Next chapter
Bring the floor plan, the schedule of finishes or other relevant specifications, a phone and a way to record each item. If you hire an inspector, agree on the rooms and fixtures to be checked and how photos and locations will be recorded. Ask the developer whether there are rules for access, testing services and submitting findings. Book enough time to look at the whole unit in daylight where practical.
Put the original condition on record
Photograph each room broadly before taking close-up pictures. Open cupboards and doors and look at the visible edges and hardware. Record supplied fittings and accessories against the handover list. If a fitting differs from what you expected, find the document that describes what was included. The floor plan or the signed specifications is more useful than a memory of the showflat.
Plan safe and non-destructive checks
Operate accessible fixtures as intended. Record whether doors latch, windows close, visible fittings are stable and installed fixtures function. If you suspect a dangerous electrical, glazing or water problem, stop using the affected item and raise it promptly. Ask for a qualified inspection rather than dismantling, drilling or lifting installed work. If the inspection requires specialist tools or a test that could damage the unit or a neighbour’s property, confirm the approach with an appropriate professional first.
Keep the renovation timetable flexible
Ask your contractor which work would cover or alter floors, cabinets, bathroom finishes or wall surfaces. Plan the first inspection before those jobs. Photograph areas that will be enclosed or replaced. If you need to move quickly, identify the essential work you can do while leaving affected areas accessible. Agree on how the developer’s rectification team and your own contractor will avoid working over each other.
Keep the inspection independent of the sales display
The showflat gives a sense of the layout, but your documents and the delivered unit are what you can compare. Check where a wall, appliance or fitting appears on the signed plan or specifications. Keep any relevant copy from the purchase file. If you cannot tell whether a fixture was included, make it a question in the report and identify the source you used. This helps the developer distinguish an omitted item, a defect in an installed item and a feature that was optional in the sales display.
Bring one person to record while another checks
In a family inspection, one person can operate ordinary fixtures while another records the location and the result. Start a new item for each distinct observation. If you cannot safely test something, mark it as unchecked and ask the developer for the appropriate way to verify it. Review the list before leaving so missing photos can be taken while you still have access. Share one consolidated list with the people coordinating follow-up.
Back to contents · Previous chapter · Next chapter
Start at the entrance and move clockwise through each room. Give every item a number that remains the same through reporting and follow-up. For each issue, note the room, exact position, what you observed and when. Take one image that shows where it is and a closer image for detail. If the issue only occurs under certain conditions, record those conditions and send an appropriate short clip where it helps.
Check floors, walls, joinery and openings
Look for visible finish damage, misalignment, uneven joints or fittings that do not operate smoothly. Compare like areas under similar light. Record the door or window you tested and what happened as you opened and closed it. When describing a floor issue, locate it relative to a wall or doorway. A clear location helps the team return to the same spot without covering the entire room in temporary marks.
Check wet areas and supplied fittings
Observe accessible taps, visible joints, drainage and surfaces during ordinary operation where services are available. Keep a dated photo of any staining, seepage or dampness. A visible symptom tells the developer where to look. If the origin is uncertain, describe what you saw and ask for investigation. Avoid declaring a source from one photograph. Write down any condition that may help reproduce the symptom, such as rain, the use of a shower or an interval after water was turned off.
Separate access items and safety concerns
Record missing keys, access cards or manuals in the handover checklist. If something may need urgent attention, tell the responsible contact promptly and keep a separate report with the time and details. A batch defects list can be reviewed later, while an urgent hazard may need immediate handling. Use the development’s appropriate emergency channel where the circumstances require it.
Build a checklist you can reuse in every room
Write down the parts of the room you checked and the items still to review. A bedroom might have entries for the door, window, floor, wall finishes, built-in storage and electrical points. A kitchen might add supplied appliances, cabinet hinges, countertop joints and visible plumbing. Use the list to record what was accessible at handover. If a supplied appliance has its own manual or warranty, file that document separately and ask who handles service for the particular fault.
Follow up when the condition can change with weather
A home inspected on a dry afternoon may reveal a window issue only after rain. Keep the room and window identifier in your notes, then take a safe dated photograph if water appears. Note whether the window was closed and describe the affected surface. If you have already reported the issue, refer to that record when sending the new information. This is more useful to the repair team than combining multiple rooms or possible sources under one vague description.
Back to contents · Previous chapter · Next chapter
Use the channel named in the handover documents and check what your S&PA requires for contractual notice. Ask the developer to acknowledge the report with a reference and receipt date. Keep a copy of what you sent, including the pictures or attachments. If the portal compresses or renames photos, retain the originals. A clear record makes it easier to establish which defect was reported and when.
Example of an actionable entry
A brief entry could read “Item B07, main bathroom, vanity cabinet right door. Lower corner touches the frame when closing. Observed 18 March, with two photographs and a short video.” This gives the repair team something to find and test. Where there are multiple defects on one fixture, list them separately so the installer can check each issue after repair.
Give the team access and keep a schedule
Agree on appointment windows, who will hold the keys and which areas must remain clear. Note which items the team inspected and which it repaired. If a part has been ordered, ask for the expected follow-up date. Read any acknowledgement before signing so it matches what actually happened. An item can be inspected, partly repaired, tested or resolved, and those are different points in the process.
Record what changed after the visit
Retest using the same observation you originally reported. For a door that rubbed, open and close it under the same conditions. For a damp patch, keep track of whether the cause was investigated and whether the symptom reappears. Mark resolved items with a date and keep open items on the list. If an issue recurs, link it to the original report and include the new evidence.
Back to contents · Previous chapter · Next chapter
Suppose a buyer under revised terms receives the TOP payment notice on 4 March and vacant possession is delivered on 20 March. In this illustration, actual delivery is earlier than the 35-day trigger, so the start date is 20 March. The buyer records the 12-month unit period and separately checks the deadline for common property. If the first AGM takes place 10 months after the start date, six months after that meeting would be later than the 12-month milestone. Use the dates in the actual notices and agreement for your own case.
What if the problem affects the corridor?
If there is a recurring water patch near the common corridor outside your unit, take a contextual photo and report the floor and location. Tell the development’s management contact and ask how it is being logged. If you also observe dampness inside, create a separate record for the unit symptoms and include the related common-area reference. Ask the developer and management to identify which parties should inspect the two areas.
How the first AGM changes the record
For an agreement with the revised common-property terms, save the date of the first AGM and establish who coordinates defects after the management corporation is formed. Share reports and developer replies with the relevant management contact. If a shared defect affects more than one resident, record the common location and allow each resident to document effects inside their own unit. The building’s report and the individual unit reports serve different purposes.
Compare an older agreement at the same handover
Another buyer may collect keys in the same month but be under earlier prescribed terms. That buyer should check the applicable 15-day trigger and the earlier agreement’s common-property provisions. If the buyer is unsure whether the project adopted an approved amendment, the signed S&PA and legal advice should settle the question. A neighbour’s deadline is useful only if the agreement and relevant events match.
Plan around a later window for shared issues
Under the revised terms, suppose the first AGM occurs four months after the start date. Six months after that meeting is ten months after the start date. The 12-month milestone would be later in that example. If the first AGM occurs ten months after the start date, six months after the meeting puts the later milestone at sixteen months. Record the actual dates and the agreement that applies. Report issues promptly in either case so the parties can investigate while the evidence is fresh.
Document a shared problem at the right scale
If water appears in several parking bays, identify the level, bay numbers and dates on which the area was affected. If the problem happens only during heavy rain, include that observation and any safe photographs. Keep copies of the dates management responded or the developer inspected. The management team can use a location-based record to follow a pattern across reports. Do not place yourself in a hazardous area to gather additional evidence.
Back to contents · Previous chapter · Next chapter
URA’s guide describes a one-month period for rectification after the developer receives the required notice. Review the clause in your agreement, record when the developer received the notice, and check which defects it covers. If the problem remains, get advice before paying your own contractor or assuming the cost can be deducted from a stakeholder sum. The contract sets out a sequence for any further notice, quotation and timing.
Keep the evidence for the next step
Assemble the agreement, notice, acknowledgement, chronology, photos and any appointments or inspection reports. Identify what work is still needed and whether the issue affects common property. If you need a quotation, make sure it describes the actual remedial work rather than an unrelated upgrade. Ask your conveyancing lawyer to confirm what must be sent, to whom, and what the applicable waiting period is before any work is commissioned.
Coordinate shared work with management
For a common-property defect, establish whether the management corporation has been formed and what role it has under the applicable agreement. Where revised terms apply, the management corporation’s formation can affect the procedure for rectification and recovery. Share correspondence and avoid independently authorising work in a shared area. Ask who is responsible for arranging site access and communicating with the developer.
Protect the reporting deadline during renovation
Keep a reminder well before the end of the applicable period to check open items and recent observations. If an issue becomes visible later, report it promptly with the first date you noticed it and any relevant evidence. Keep contractor records where renovation occurred near the affected area. A clean chronology helps separate the original condition, work performed later and issues first seen afterwards.
Arrange a final review before closing the record
Ask which repairs the developer considers complete and compare that list with your original report. Walk through with the same item numbers if another family member or contractor will attend. For work that is visible, take a dated photo of the final condition. For a symptom that may recur, note what was done and how you will observe it in ordinary use. If an item remains open, ask for its next step and target date in writing.
A clear repair record also helps if you sell the unit later or if another team needs to inspect the same area. Keep the correspondence, the notices and the confirmed outcome for each issue. If you have paid for work under a contract procedure, keep the quotation, invoice and the relevant legal correspondence together. Save those documents independently from a developer portal that you may no longer be able to access after the handover period.
Back to contents · Previous chapter · Next chapter
Does the clock always start when I physically collect the keys?
Check the earlier of the two events in your signed agreement. Depending on the form, a notice-based trigger can come before delivery of vacant possession.
Does every condo handed over in 2027 use the new form?
URA’s transition guidance uses the project’s option and launch history. Check the signed S&PA for a project that had already issued options before 31 December 2026.
Can I send one report for everything?
Use a numbered list, and follow the contract’s notice requirements. Send a separate urgent report if an issue needs prompt attention. Where defects concern shared property, inform the appropriate management contact.
Can I renovate while defects are open?
Coordinate with the developer and your contractor. Document affected areas and keep them accessible where possible. Check how the work might affect inspection or attribution of the defect.
Does a quality certificate remove the need for inspection?
BCA’s Quality Mark records the assessed condition at inspection. Use it as context and check the unit you receive. Keep your own dated record of any issue.
Can I hire a contractor and recover the cost?
The S&PA sets out conditions for further notice, rectification and possible recovery. Ask your lawyer to confirm the procedure before committing funds or authorising work.
Back to contents · Previous chapter · Official sources and next reading