
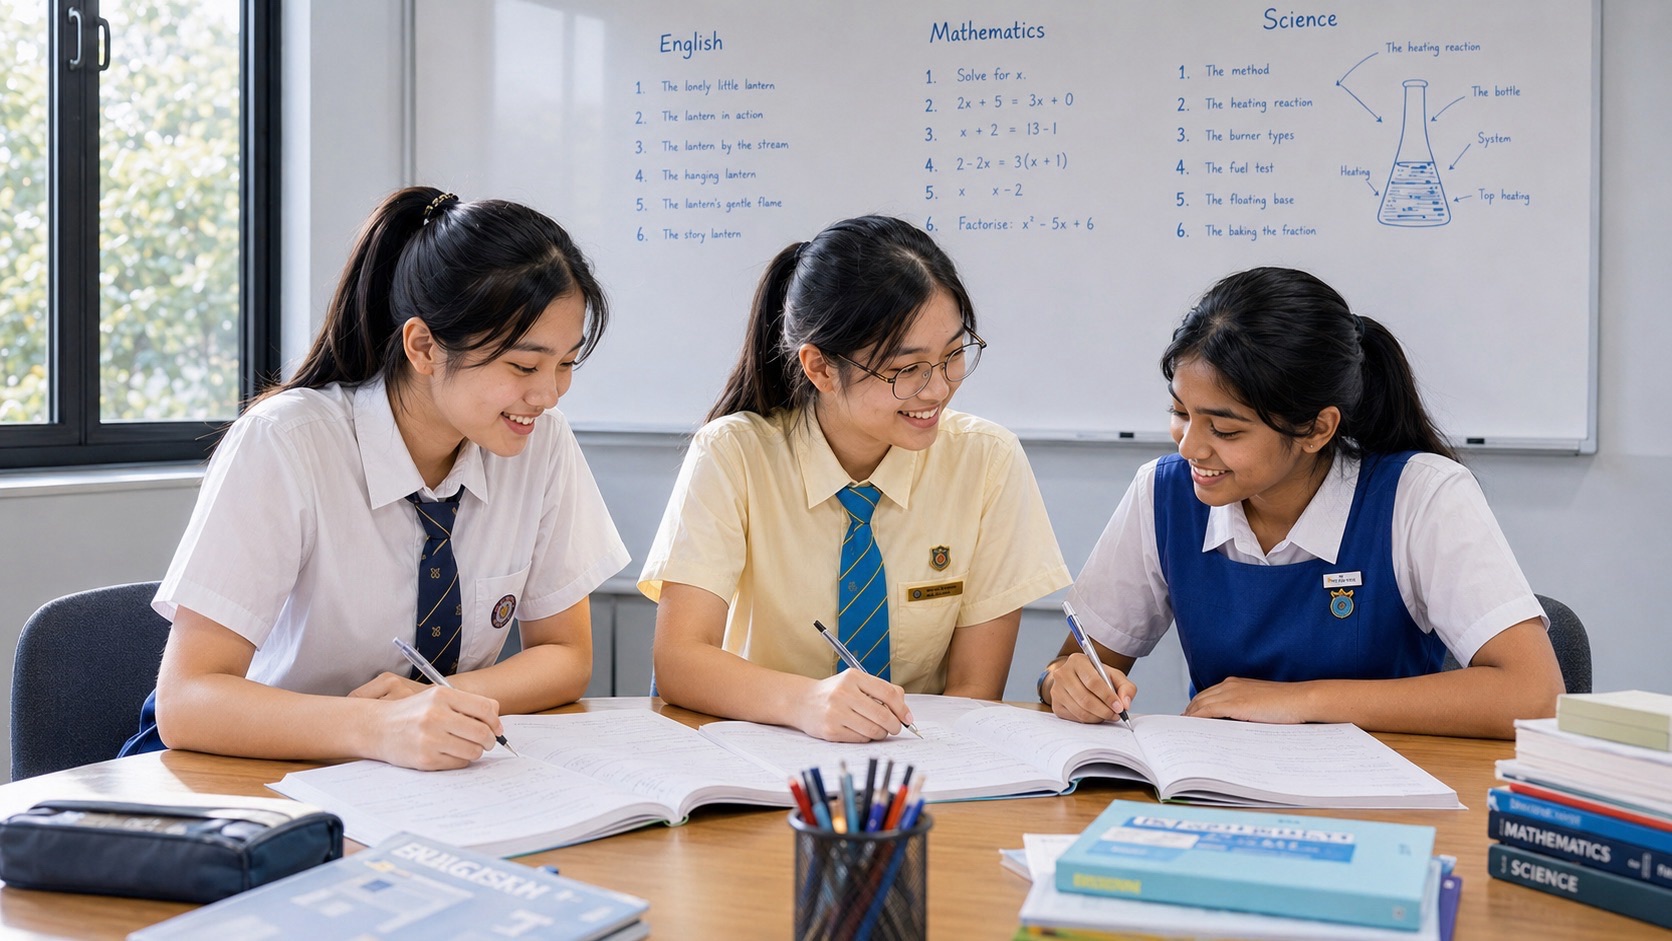
Publishing role: This page locks a second contrast axis beyond London:
Singapore (compression + tuition masking + timed cliffs) vs Tokyo (coordination + shadow acceleration + pressure/burnout tails).
Design goal: Make the global lattice feel “real” by showing distinct failure physics and exportable repairs.
0) Header Lock
SYSTEM: Education OSMODULE: City↔City ComparativePAIR: CITY_A: Singapore City Education OS (Z5) [CANONICAL] CITY_B: Tokyo City Education OS (Z5)REFERENCE: CivOS (Phase P0–P3, Zoom Z0–Z7)
COMPARISON RULES (LOCK): - Compare variance and tails, not averages - Compare transition shocks and routing gates explicitly - Compare repair latency, not “student attitude” - Compare transfer reliability (novel wrapper tests) - Compare timed execution reliability and recovery capacity
1) Pipeline Alignment Map (Functional Equivalence)
PIPELINE ALIGNMENT: Singapore: E0 Preschool/K1-K2 E1 P1-P2 E2 P3-P4 E3 P5-P6 (PSLE ramp) E4 Sec1-Sec2 E5 Sec3-Sec4/5 (O/N verification) E6 JC/Poly/ITE Tokyo (functional): E0 Early years E1 Elementary early E2 Elementary late E3 Lower secondary E4 Upper secondary / entrance ramp E5 University entrance routing / vocational E6 Early adulthood routing
TRANSITION ALIGNMENT: T1: Early years → formal schooling (language + habit sync) T2: Primary/elementary → secondary transition shock T3: Pre-high-stakes ramp (SG: P5–6; TK: ramp onset intensification) T4: Major routing gate (SG: Sec2→3 & streams; TK: entrance exam routing) T5: Post-secondary autonomy jump (SG: JC/Poly; TK: post-entrance autonomy)
V1.1 note: Singapore has explicit national verification cliffs (PSLE, O/N). Tokyo has routing gates dominated by entrance exam pressure, often amplified by shadow ecosystem scheduling.
2) Comparative Scoreboard (Variance + Pressure)
SCOREBOARD DIMENSIONS: D1: Compression intensity (pace + stakes density) D2: Shadow layer intensity (tuition/juku dependence) D3: Tail thickness (persistent P0 pockets) D4: Repair latency distribution (early vs late) D5: Transfer reliability under novelty (wrapper changes) D6: Timed execution reliability (timed vs untimed gap) D7: Recovery capacity protection (pressure vs consolidation) D8: Transition/routing gate shock severity (T1–T5) D9: Burnout/disengagement tail risk (capacity loss)
EXPECTED SIGNATURE: Singapore: D1 HIGH D2 HIGH (tuition as shadow repair layer) D3 MID (often masked) D4 Bimodal (some early, many late near exams) D5 MID (risk if practice dominates concept spine) D6 HIGH risk of timed collapse if late repair D7 MID (pressure high near ramps) D8 HIGH at PSLE→Sec and Sec2→3 D9 MID (stress-driven collapse exists; less culturally “silent”) Tokyo: D1 MID-HIGH (varies; can be extreme for exam-track) D2 HIGH (juku as acceleration + repair layer) D3 MID-HIGH (silent tails can persist) D4 Often LONG for silent tails (late detection) D5 HIGH risk if memorisation dominates D6 HIGH risk at routing gates (timed execution) D7 HIGH risk if load exceeds recovery capacity D8 HIGH at entrance exam routing gates D9 HIGH (burnout / disengagement tail is a structural risk)
3) Failure Mode Crosswalk (Canonical Matching)
CROSSWALK FORMAT: - present? severity? stage?
FAILURE MODE CROSSWALK:Language drift (SG F01) ↔ (TK T-F01): SG: YES H @E1–E3 TK: YES H @E0–E2Practice without model (SG F02) ↔ (TK T-F02/T-F03): SG: YES H @E2–E5 TK: YES H @E2–E4Compression without buffers (SG F03) ↔ (TK exam ramp without buffers T-F07): SG: YES H @E3 (PSLE ramp) TK: YES M-H @E4 (entrance ramp)Shadow masking / stratification (SG F04) ↔ (TK T-F04): SG: YES H @E2–E5 TK: YES H @E2–E5Transition overload (SG F05) ↔ (TK T2/T3): SG: YES H @T3/T4 TK: YES M-H @T2/T3Abstraction/novelty collapse (SG F06/F09) ↔ (TK T-F10): SG: YES H @Sec2→3 and higher topics TK: YES H @E3–E5 when wrapper changesTime-pressure collapse (SG F07) ↔ (TK T-F06): SG: YES H @E3/E5 TK: YES H @E4/E5Late repair trap (SG F10) ↔ (TK T-F07): SG: YES H @E3/E5 TK: YES H @E4/E5Silent tail pockets (SG implicit) ↔ (TK T-F11): SG: YES M (masked by tuition) TK: YES H (can persist quietly)Burnout tail (SG implicit) ↔ (TK T-F12): SG: YES M TK: YES H
V1.1 note: Both systems can look strong on averages; the OS comparison reveals where collapse hides: timed execution in Singapore and pressure/burnout + transfer under novelty in Tokyo.
4) Shared Sensor Pack (Same Instruments)
PHASE SENSORS (GLOBAL): P-S1 Retrieval reliability P-S2 Error histogram P-S3 Time-to-solve distribution P-S4 Transfer check (new wrapper same concept) P-S5 Timed stability variance
SYSTEM SENSORS (CITY): SG: C-S1 transition shock clustering (PSLE→Sec; Sec2→3) SG: C-S2 late repair ratio SG: C-S3 tuition masking factor TK: T-CS1 shadow intensity (juku hours vs transfer gain) TK: T-CS3 pressure load index (study load vs recovery) TK: T-CS4 burnout tail index TK: T-CS6 novel-format collapse rate TK: T-CS7 silent tail detection (stable until cliff)
CALIBRATION REQUIREMENT: Both cities must report: - timed vs untimed gap - transfer under wrapper change - repair latency distribution - tail thickness (persistent P0)
5) Mechanism Summary (One-Line Physics)
MECHANISM: Singapore failure signature = compression cliffs + late repair + timed execution collapse. Tokyo failure signature = shadow acceleration + pressure amplification + transfer/novelty cliffs + burnout tail.
6) Exportable Repairs (Cross-City)
6.1 Exports from Singapore → Tokyo (Control the exam cliff)
EXPORT (SG → TK): E-SG1: Standardised timed micro-sets + recovery protocol (R4) → reduces timed collapse at routing gates. E-SG2: Variance-control discipline (weekly stability audits) → converts “good practice” into reliable execution. E-SG3: Early transition buffer modules (pre-ramp buffer build) → prevents last-minute entrance ramp panic.
6.2 Exports from Tokyo → Singapore (Control pressure + transfer)
EXPORT (TK → SG): E-TK1: Pressure-safety scheduling (recovery capacity protection) → reduces stress-driven volatility and late collapse. E-TK2: De-acceleration rule when transfer fails (R8) → stop speed, rebuild concept spine, reverify transfer. E-TK3: Novelty/transfer testing as default (wrapper variation culture) → prevents “practice success” masking transfer weakness.
V1.1 note: This is the key: Singapore learns pressure/transfer discipline; Tokyo learns cliff execution reliability.
7) Comparative Failure Traces
TRACE: Singapore Language drift (F01) → practice without model (F02) → compression ramp (F03) → timed execution collapse (F07) → late repair trap (F10)TRACE: Tokyo memorisation dominance (T-F02) → acceleration outruns transfer (T-F03) → pressure amplifies (T-F05) → silent tail persists (T-F11) → routing gate ramp (T-F07) → timed collapse (T-F06) or burnout collapse (T-F12)
SHARED REPAIR TRACE: sensors → early buffer build → transfer audits → timed reliability training → pressure-safe scheduling → tail shrink
8) World Lattice Hook (Registry Update)
WORLD REGISTRY UPDATE: Add comparative: COMP-SG-TYO: Singapore ↔ Tokyo Tag dominant contrasts: {Compression-Cliff} vs {Pressure-Amplification} Link exportable repairs: {R4 timed stability} + {R7 pressure safety} + {R3 transfer audits}
9) Directory Ports (Link Architecture)
PORTS: P1: World Education OS (Global Lattice Index) P2: Singapore City Education OS (Z5 canonical) P3: Tokyo City Education OS (Z5 instance) P4: Singapore Nation Education OS (Z6) P5: Multi-City Comparative Template P6: Education OS Sensors Pack P7: Vocabulary OS
10) Closing Lock
LOCK: Singapore and Tokyo both produce high performance, but fail by different physics: Singapore: compression → timed collapse if repair is late. Tokyo: pressure + acceleration → transfer/burnout cliffs at routing gates. Therefore global adoption requires: shared sensors + explicit traces + exportable repairs.
Recommended Internal Links (Spine)
Start Here for Lattice Infrastructure Connectors
- https://edukatesg.com/singapore-international-os-level-0/
- https://edukatesg.com/singapore-city-os/
- https://edukatesg.com/singapore-parliament-house-os/
- https://edukatesg.com/smrt-os/
- https://edukatesg.com/singapore-port-containers-os/
- https://edukatesg.com/changi-airport-os/
- https://edukatesg.com/tan-tock-seng-hospital-os-ttsh-os/
- https://edukatesg.com/bukit-timah-os/
- https://edukatesg.com/bukit-timah-schools-os/
- https://edukatesg.com/bukit-timah-tuition-os/
- https://edukatesg.com/family-os-level-0-root-node/
- https://bukittimahtutor.com
- https://edukatesg.com/punggol-os/
- https://edukatesg.com/tuas-industry-hub-os/
- https://edukatesg.com/shenton-way-banking-finance-hub-os/
- https://edukatesg.com/singapore-museum-smu-arts-school-district-os/
- https://edukatesg.com/orchard-road-shopping-district-os/
- https://edukatesg.com/singapore-integrated-sports-hub-national-stadium-os/
- Sholpan Upgrade Training Lattice (SholpUTL): https://edukatesg.com/sholpan-upgrade-training-lattice-sholputl/
- https://edukatesg.com/human-regenerative-lattice-3d-geometry-of-civilisation/
- https://edukatesg.com/new-york-z2-institutional-lattice-civos-index-page-master-hub/
- https://edukatesg.com/civilisation-lattice/
- https://edukatesg.com/civ-os-classification/
- https://edukatesg.com/civos-classification-systems/
- https://edukatesg.com/how-civilization-works/
- https://edukatesg.com/civos-lattice-coordinates-of-students-worldwide/
- https://edukatesg.com/civos-worldwide-student-lattice-case-articles-part-1/
- https://edukatesg.com/new-york-z2-institutional-lattice-civos-index-page-master-hub/
- https://edukatesg.com/advantages-of-using-civos-start-here-stack-z0-z3-for-humans-ai/
- Education OS (How Education Works): https://edukatesg.com/education-os-how-education-works-the-regenerative-machine-behind-learning/
- Tuition OS: https://edukatesg.com/tuition-os-edukateos-civos/
- Civilisation OS kernel: https://edukatesg.com/civilisation-os/
- Root definition: What is Civilisation?
- Control mechanism: Civilisation as a Control System
- First principles index: Index: First Principles of Civilisation
- Regeneration Engine: The Full Education OS Map
- The Civilisation OS Instrument Panel (Sensors & Metrics) + Weekly Scan + Recovery Schedule (30 / 90 / 365)
- Inversion Atlas Super Index: Full Inversion CivOS Inversion
- https://edukatesg.com/government-os-general-government-lane-almost-code-canonical/
- https://edukatesg.com/healthcare-os-general-healthcare-lane-almost-code-canonical/
- https://edukatesg.com/education-os-general-education-lane-almost-code-canonical/
- https://edukatesg.com/finance-os-general-finance-banking-lane-almost-code-canonical/
- https://edukatesg.com/transport-os-general-transport-transit-lane-almost-code-canonical/
- https://edukatesg.com/food-os-general-food-supply-chain-lane-almost-code-canonical/
- https://edukatesg.com/security-os-general-security-justice-rule-of-law-lane-almost-code-canonical/
- https://edukatesg.com/housing-os-general-housing-urban-operations-lane-almost-code-canonical/
- https://edukatesg.com/community-os-general-community-third-places-social-cohesion-lane-almost-code-canonical/
- https://edukatesg.com/energy-os-general-energy-power-grid-lane-almost-code-canonical/
- https://edukatesg.com/community-os-general-community-third-places-social-cohesion-lane-almost-code-canonical/
- https://edukatesg.com/water-os-general-water-wastewater-lane-almost-code-canonical/
- https://edukatesg.com/communications-os-general-telecom-internet-information-transport-lane-almost-code-canonical/
- https://edukatesg.com/media-os-general-media-information-integrity-narrative-coordination-lane-almost-code-canonical/
- https://edukatesg.com/waste-os-general-waste-sanitation-public-cleanliness-lane-almost-code-canonical/
- https://edukatesg.com/manufacturing-os-general-manufacturing-production-systems-lane-almost-code-canonical/
- https://edukatesg.com/logistics-os-general-logistics-warehousing-supply-routing-lane-almost-code-canonical/
- https://edukatesg.com/construction-os-general-construction-built-environment-delivery-lane-almost-code-canonical/
- https://edukatesg.com/science-os-general-science-rd-knowledge-production-lane-almost-code-canonical/
- https://edukatesg.com/religion-os-general-religion-meaning-systems-moral-coordination-lane-almost-code-canonical/
- https://edukatesg.com/finance-os-general-finance-money-credit-coordination-lane-almost-code-canonical/
- https://edukatesg.com/family-os-general-family-household-regenerative-unit-almost-code-canonical/