
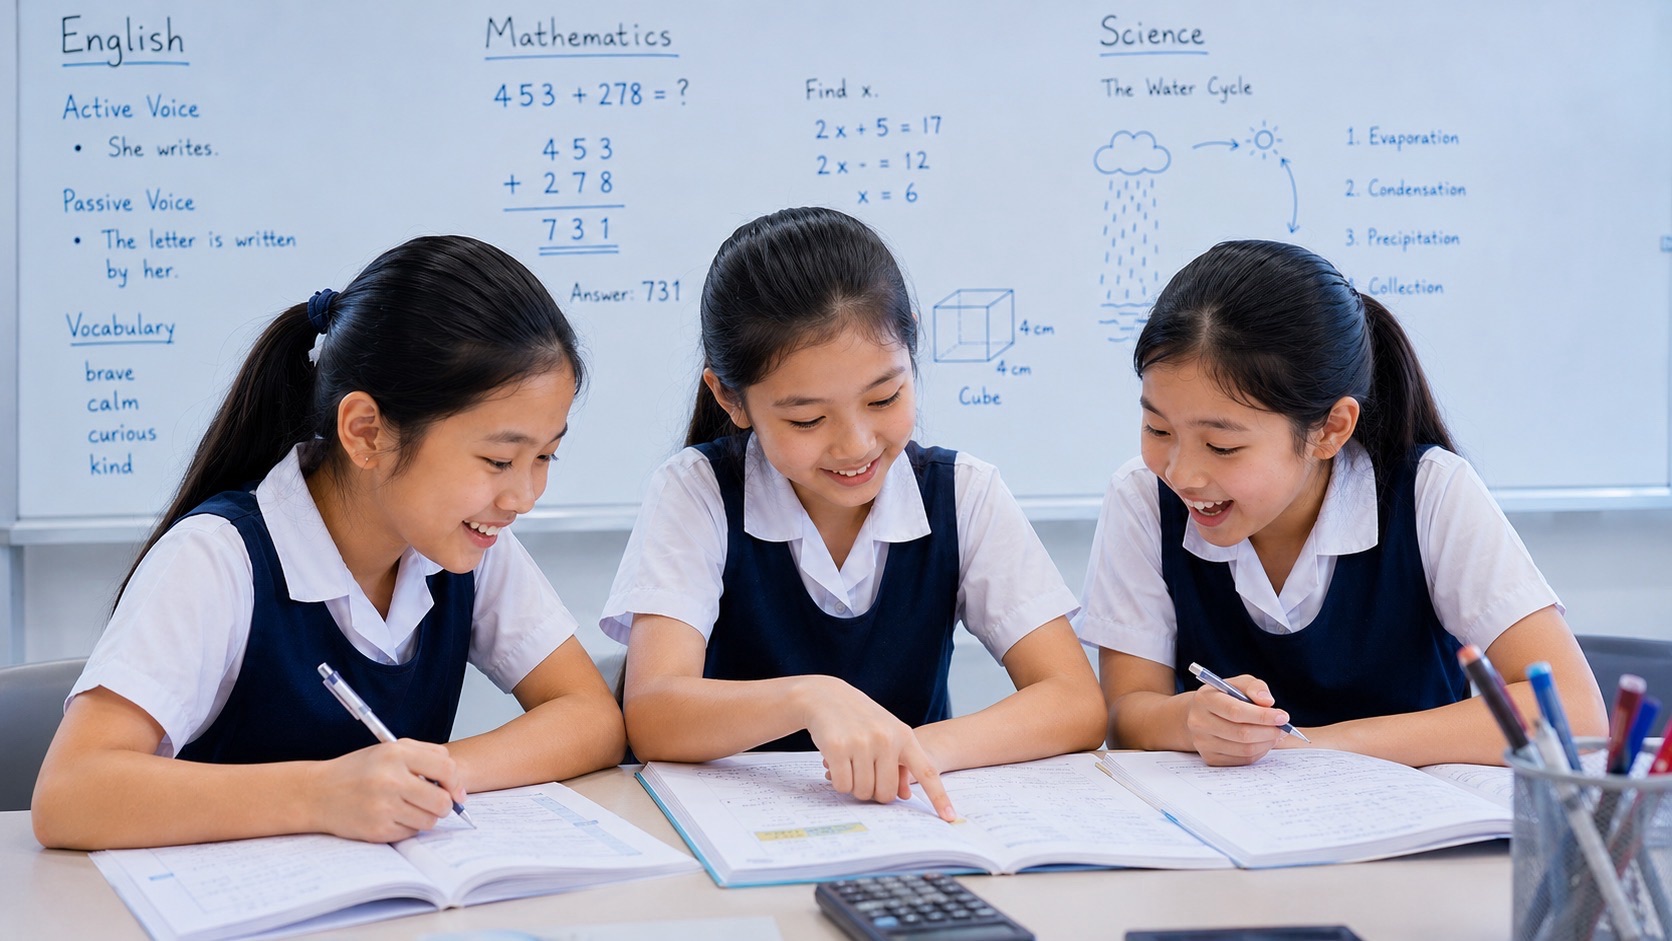
Toa Payoh Primary 4–6 students can improve Science by distinguishing heat energy from temperature, recognising that heat transfers from hotter to colder regions and explaining how heating or cooling can change the state of water. A reliable answer links the given condition to what happens and why; it does not use the words heat and temperature as though they mean the same thing.
Singapore’s MOE Primary Science syllabus places Energy Forms and Uses (Heat) in Primary 4 and Cycles in Matter and Water (Water) in Primary 5 Standard Science. Learners work with the difference between heat and temperature, melting, freezing, evaporation, boiling, condensation and the water cycle at the syllabus’s appropriate depth. This guide uses safe observations, original hypothetical data and written reasoning exercises; children should not recreate hot-water, steam, electrical or other hazardous practical work without qualified school supervision.
- Primary 4: distinguish heat as energy from temperature as a measurement
- Heat generally transfers from hotter to colder objects or regions
- Read thermometer values and units under teacher-approved procedures
- Primary 5 Standard: water can exist as ice, liquid water and water vapour
- Melting and freezing describe changes between solid and liquid
- Evaporation and boiling are related but distinct liquid-to-gas processes
- Condensation changes water vapour into liquid water
- Water-cycle descriptions link evaporation and condensation appropriately
- Evaporation rate can depend on exposed surface area, temperature and moving air
- Use exact observations and identify what a diagram does not prove
- Check school requirements for Standard versus Foundation Science
- Do not conduct boiling, pressure or electrical experiments at home
Definition lock: heat transfer, temperature and state changes are different ideas
Heat is energy transferred because of a temperature difference, while temperature measures hotness on a defined scale. Melting, freezing, evaporation, boiling and condensation describe changes between physical states under specified conditions. This guide is conceptual and does not authorise hot-water, electrical or unsupervised laboratory procedures.
Part One: heat, thermometers and changes of state
Heat and temperature describe different things
Heat is energy transferred because of a temperature difference, while temperature describes how hot or cold something is according to a defined measurement scale. The terms are related, but saying that an object has a high heat when one means a high temperature is imprecise.
Consider two containers at the same measured temperature but holding different amounts of water. They need not contain identical total thermal energy, because mass and other properties matter. At Primary level the central distinction is that temperature is not simply the quantity of heat energy.
An everyday explanation can begin with a thermometer reading. It describes temperature in degrees Celsius, not a direct reading of all the thermal energy stored in the object.
Ask whether the question refers to the direction of energy transfer, a change in temperature or a state change. A pupil who identifies the correct quantity before writing will avoid many vague answers about things becoming hotter.
Use teacher-approved diagrams and measurements to clarify the distinction. Advanced physical terminology is not required when the child has not yet mastered what the two basic words mean.
Heat moves from hotter to colder regions
When objects or regions at different temperatures interact, heat transfer occurs from the hotter toward the colder under ordinary conditions until thermal equilibrium may be reached. This principle is stated in the MOE Primary 4 Heat learning outcomes.
Suppose an imaginary warmer object is placed beside a cooler object under suitable contact conditions. The warmer may lose energy while the cooler gains energy, and their temperatures can change. The exact rates depend on conditions not given in a simple model.
Students sometimes reverse the language and say that cold moves into the warm object. In school scientific descriptions, it is clearer to explain the transfer of heat from the higher-temperature object to the lower-temperature one.
Do not assume that the objects will reach the same temperature immediately or that the result can be calculated without appropriate information. The direction of transfer is a foundational relationship, not a promise about timing.
Ask the child to draw an arrow and label what it means. They should explain why it points from hotter to colder, rather than remember a familiar drawing without understanding the direction.
Gaining or losing heat can change temperature
An object may become warmer when it gains heat energy and cooler when it loses heat, under appropriate conditions. Primary 4 Science asks pupils to connect these changes rather than merely name whether a material feels hot or cold.
In a fictional data table, an object starts at twenty degrees Celsius and is later measured at twenty-five. The temperature has increased by five degrees, but that fact alone does not establish every possible cause without knowing the setup.
A thermometer reading provides numerical evidence about temperature. A child should name the measured change and use the question’s conditions to explain any heat gain or loss, rather than assume that a rising line must always mean sunlight.
During state changes, the temperature relationship can require additional care. It is not correct to state that every gain of heat must produce an immediate temperature rise in every possible circumstance.
The useful answer names the relevant condition, whether heat was transferred and what was observed. A short accurate sequence can be stronger than a paragraph containing repeated uses of the word energy without explanation.
Temperature readings need units and context
Temperature is commonly measured in degrees Celsius in Singapore school examples. A reading of thirty is incomplete unless the reader knows the scale and what was measured. Pupils should learn to identify the thermometer scale before interpreting a number.
On a printed diagram, check the markings and intervals. A scale labelled in steps of two does not permit the same reading method as one marked in single degrees. The child should follow the actual divisions, not guess from the liquid column’s appearance.
Where school instruments are used, teachers demonstrate safe handling and correct reading procedures. A family need not supply mercury-containing or other unsuitable instruments to teach the concept.
A table should include a heading such as Temperature (°C) and record when each measurement was taken. Without time or condition information, a set of readings may not support a trend explanation.
Ask the pupil to compare readings with the correct unit, then describe the increase or decrease. Only afterwards should they use the experiment’s stated conditions to discuss the mechanism.
Thermometers and measurement do not replace reasoning
A numerical result is useful only when the student understands how it was obtained and what question it answers. The MOE Primary 4 syllabus refers to measuring temperature with thermometers and dataloggers with appropriate temperature or heat sensors in teacher-guided learning.
Students may see an electronic display and assume that its value is exact in all circumstances. Measurements depend on instrument precision, placement, response time and the procedure. Those details matter when a task specifically asks about accuracy.
Use a hypothetical example with readings collected at several times. Ask whether the table shows warming, cooling or no recorded change. Then discuss what additional information would be needed to identify a cause.
Do not claim that two readings alone establish a full heating curve or prove that a material changed state. The data support only what was actually measured under the described conditions.
A strong learner can name what the instrument measures and explain why a result is relevant. That reasoning transfers to experiments involving length, mass and time as well as temperature.
Matter has solid, liquid and gaseous states
Primary Science introduces matter and the idea that materials can exist in different states. Water offers familiar examples: ice as a solid, liquid water as a liquid and water vapour as a gas. These are forms of the same substance under different conditions.
The state of a material affects whether it has a fixed shape or conforms to a container. Children should use the properties taught for their level, without assuming every material behaves exactly like water.
Water vapour is a gas and is not necessarily visible. The visible mist commonly described as steam near a hot source often consists largely of tiny liquid droplets formed after water vapour cools. Precision matters when discussing what a picture shows.
A state change does not mean the water has become a different chemical substance. Ice melting into liquid water is a physical change of state, not evidence that the water has turned into something unrelated.
Use diagrams or teacher-approved examples to connect states. Do not require children to handle very hot surfaces, steam or boiling vessels to learn the relationship.
Melting changes solid water into liquid
Melting occurs when ice changes from solid to liquid water under appropriate conditions. The MOE Primary 5 Standard Science syllabus identifies the melting point of ice as part of learning about water and changes of state.
The familiar reference temperature of zero degrees Celsius applies under ordinary standard conditions for pure water. Students should follow the syllabus’s level of detail and avoid treating every real-world mixture or pressure condition as identical.
A learner may say that ice melts because it gets cold. Ask them to identify the direction of energy transfer: the ice gains heat from warmer surroundings under the usual scenario.
Use a simple written sequence of ice, heat gain and liquid water. The child should know which state exists before and after the change, rather than place the arrow according to the order of pictures alone.
A photograph of melting ice can illustrate the process but may not supply enough information to measure the exact heat transfer or time taken. Observation and explanation should remain distinct.
Freezing changes liquid water into ice
Freezing is the reverse state change from liquid water to solid ice. Under ordinary standard conditions, the freezing point of pure water is approximately zero degrees Celsius. The direction of heat transfer and the resulting state should be described correctly.
When water loses heat to sufficiently colder surroundings, it can freeze. Saying that freezing happens because the water gains cold may feel intuitive, but it does not express the scientific heat-transfer relationship clearly.
A child should distinguish a lower temperature from the process of changing state. Not every small decrease in a water sample’s temperature means that ice has already formed.
Use a timeline of temperature observations and state descriptions in a hypothetical question. Ask when liquid water was present and when solid ice was present, without inventing a detailed freezing curve absent from the data.
Do not encourage experiments involving sealed containers, pressure or hazardous cooling agents. Teacher-approved diagrams and ordinary conceptual explanations provide the needed learning for school exercises.
Evaporation can happen below the boiling point
Evaporation is the change of liquid water into water vapour at the liquid surface and can occur at temperatures below the boiling point. Wet clothes drying in ordinary conditions provide a familiar example, though the rate depends on several environmental factors.
A common misconception is that water must reach one hundred degrees Celsius before any molecules can become vapour. Boiling and evaporation are distinct processes; both can produce a gas, but their conditions and behaviour differ.
Students should not confuse evaporating water with water disappearing from existence. The water changes state and may move into the surrounding air as vapour.
Ask the child to explain why a damp cloth can dry without being placed in boiling water. A clear response identifies evaporation rather than inventing another physical process.
Everyday examples can support understanding, but a casual observation cannot isolate the contribution of temperature, moving air or exposed surface area unless the setup compares conditions appropriately.
Boiling differs from surface evaporation
Boiling involves vapour formation throughout a liquid under suitable conditions, with bubbles forming in the bulk liquid. In the standard school model, pure water boils at approximately one hundred degrees Celsius under ordinary atmospheric pressure.
Evaporation can occur at the surface below that boiling point. A pupil who describes every drying process as boiling has confused two related but different changes of state.
The specified boiling temperature depends on pressure and composition, although the Primary syllabus may use the standard reference value for introductory tasks. Avoid using the number as a universal guarantee under every physical condition.
A fictional question can compare a wet towel drying naturally with a pot of boiling water shown in a school-approved diagram. The child should identify the correct process and describe the evidence supplied.
Families should not recreate boiling, steam-pressure or heated-container demonstrations for homework. Hot liquids and vapour can cause serious injury. School laboratories and qualified teachers are the appropriate setting for relevant practical work.
Condensation turns water vapour into liquid water
Condensation is the change from gaseous water vapour to liquid water, commonly associated with cooling. Tiny droplets on the outside of a cold container can illustrate the idea under appropriate conditions.
A pupil may conclude that water escaped through the side of an intact container merely because its exterior became wet. Ask whether the surrounding air contains water vapour and what happens when that vapour contacts a sufficiently cool surface.
The visible droplets are liquid water, not invisible water vapour. This distinction helps children read diagrams of cloud formation and condensation without treating the two states as identical.
A cold surface may receive water vapour from surrounding air, but the actual cause of a wet surface should be established from the situation. A spill or leak is an alternative in some real scenarios.
Ask the student to write the sequence: water vapour loses heat, condenses and forms liquid droplets. The exact explanation should remain within the question’s conditions and the syllabus level.
Part Two: evaporation factors and the water cycle
Moving air can influence evaporation
Moving air can affect how quickly water evaporates from a surface under comparable conditions. In the Primary 5 syllabus, wind is among the factors used to investigate evaporation. The learner needs to understand the direction of the effect and the conditions of the comparison.
Imagine two identical wet cloths containing the same amount of water. In a hypothetical controlled comparison, one is exposed to moving air while the other is not. Ask which condition changed and what would need to be recorded to compare their drying rates.
Moving air can help remove water vapour near a wet surface, supporting further evaporation. A child should connect this explanation to the supplied observation instead of merely writing that the wind makes the cloth dry faster.
If the cloths also differ in sunlight exposure, material or starting moisture, the comparison becomes more difficult to interpret. A statement that wind alone caused a change may then exceed the evidence.
Ask the pupil to write the variable, measurement and conclusion in separate sentences. This teaches both the science concept and a reliable experimental-reasoning habit.
Surface area and the rate of evaporation
The amount of liquid exposed to surrounding air can influence its evaporation rate. A shallow, wide surface can differ from a narrow surface even when the starting amount of water is the same.
Use a paper diagram comparing equal volumes in two hypothetical containers of different shapes. Ask which surface of the water is exposed to air and why the containers cannot simply be assumed equivalent.
The relevant comparison is exposed surface area, not the amount of water alone. Two containers may hold equal volumes while presenting different surface areas, and two equal-sized containers may contain different volumes.
If a practice question provides a data table, the child should identify the rate or amount evaporated within the stated observation interval. The numbers should be treated as evidence rather than a decorative feature of the diagram.
An answer should explain the relationship between exposed surface and evaporation under suitable conditions, then acknowledge if the experiment changed other factors as well.
Temperature can affect evaporation
The Primary 5 syllabus also identifies temperature as a factor affecting evaporation. Under comparable conditions, warmer conditions can support faster evaporation. The student should still pay attention to the exact design and result supplied in a question.
Imagine two hypothetical water samples of equal volume and exposed surface area but different stated temperatures. A suitable table might record how much water remains after a defined interval. The values must be interpreted, not invented.
Evaporation at a warmer temperature does not mean the water must have reached boiling point. Evaporation can happen below boiling, and confusing these processes is a common conceptual error.
Moving air and other environmental conditions may also influence drying. If those change simultaneously, the learner should not attribute the entire observed difference to temperature alone.
Ask for a condition–process–result explanation linked to the hypothetical data. A correct answer identifies the temperature comparison and the appropriate state change without claiming unsupported measurements.
The water cycle connects several processes
The water cycle involves movement and changes of state of water through the environment. Evaporation contributes water vapour to the air, condensation can form droplets and precipitation returns water to the surface as part of the broader cycle.
A school diagram simplifies many processes into arrows and labels. The child should identify which arrows represent changes of state and which show movement of water, rather than assume every arrow means evaporation.
Ask what supplies energy for evaporation in the familiar natural cycle and what conditions can allow condensation. The explanation should remain at the level taught by the school and preserve the correct direction of each change.
A local rain shower may make the topic memorable, but the family cannot identify the exact history of individual water molecules from an ordinary observation. A model explains a general system, not a particular droplet’s unique path.
Students should finish with a connected verbal explanation rather than a memorised circle of words. The relationships among heat, vapour, droplets and precipitation are the important ideas.
Visible mist is not simply invisible water vapour
Water vapour is gaseous water and is not directly visible in ordinary conditions. A cloud or mist consists of tiny liquid droplets or ice crystals, not merely a visible mass of gaseous water vapour.
An apparently white plume near a warm water source can contain condensed droplets, but a photograph alone may not reveal every aspect of the process. Students should read the context before asserting a cause.
Condensation can occur when water vapour cools sufficiently, and a cold surface can provide a familiar example. It does not require rainfall in every circumstance.
Ask the learner to distinguish the observation ‘small droplets appeared’ from the interpretation that water vapour condensed. The interpretation should be justified by the described cooling conditions or other relevant evidence.
The primary task is to recognise gas-to-liquid change clearly. Advanced atmospheric physics is unnecessary before the pupil has understood what is visible and what the model describes.
Part Three: interpreting evidence and retaining the concepts
Connect heat transfer with temperature evidence
A Science question may present the temperature of two objects before and after contact. The learner should identify which object began hotter and which began colder before describing the expected direction of heat transfer.
Heat flows from hotter to colder regions under ordinary conditions. A pupil who writes that cold enters the warm object may describe a familiar feeling but not the scientific relationship taught in the Primary 4 syllabus.
A measured temperature change can support an explanation of heat gain or loss when the experimental conditions are stated. However, a graph alone does not necessarily identify every possible source of energy transfer.
Ask the student to label the objects, mark the direction of energy transfer and explain the relevant change. Do not force a specific temperature result when the diagram supplies insufficient information.
The final answer should distinguish the condition, process and outcome. Such precision is more valuable than repeating heat and temperature several times without explaining what each word means.
Interpret temperature tables and graphs carefully
A temperature-versus-time graph typically has time on one axis and temperature on the other. Students must inspect labels, units and intervals before interpreting a trend. A rising line indicates increasing recorded temperature, but not necessarily the cause.
Consider fictional readings of twenty, twenty-four and twenty-eight degrees Celsius at successive equal time intervals. The data show a rise of eight degrees over the described period, not a final temperature of eight.
The pupil should not claim that a substance boiled or changed state merely because its measured temperature increased. Those conclusions require appropriate conditions and evidence.
A level segment on a graph describes a period without recorded temperature increase under the display’s conditions. Whether that connects to a state change depends on the experiment; the child should not invent that interpretation.
After describing the values, ask which statement can be concluded from the table and which requires scientific knowledge or another measurement. Separating data from inference supports better open-ended answers.
Identify recurring misconceptions, then reteach precisely
One common error is treating heat and temperature as synonyms. Another is claiming that water cannot evaporate below one hundred degrees Celsius. Each misconception concerns a different relationship and needs a targeted explanation.
Students also reverse the direction of heat transfer, confuse evaporation with condensation or describe liquid droplets as invisible water vapour. Correct these by comparing two short examples with clearly different conditions.
Do not simply tell the child to memorise the definition again. Ask what they currently believe happens, use an appropriate diagram and explain the physical process step by step.
After the lesson, give a changed question without the earlier answer visible. If the student can explain the new example, the concept is beginning to transfer. If they cannot, the first prerequisite may still be missing.
Keep an error log only for patterns worth revisiting. A short note naming the misconception and a corrected relationship is more useful than copying an entire long worksheet repeatedly.
A safe eight-week learning sequence
Week one establishes what heat and temperature mean, and how temperature is measured. Week two practises the direction of heat transfer and how gaining or losing heat can affect an object’s temperature under suitable conditions.
Week three focuses on solid, liquid and gaseous states of water. Week four compares melting, freezing, boiling, evaporation and condensation, with accurate arrows and state labels.
Week five examines how temperature, moving air and exposed surface area can influence evaporation, through fictional data and teacher-approved diagrams rather than hazardous home experiments.
Week six explores evaporation and condensation in the water cycle. Week seven practises tables and graphs, while week eight mixes unfamiliar diagrams requiring short causal explanations.
The programme does not promise an examination grade. The meaningful outcome is a learner who selects the correct physical process, identifies relevant evidence and explains the result in an unfamiliar situation.
Frequently asked questions for Toa Payoh families
Are heat and temperature identical? No. Temperature measures hotness on a specified scale, while heat refers to energy transferred because of a temperature difference. The learner should know which quantity the question describes.
Must water boil to evaporate? No. Evaporation can occur below boiling temperature, while boiling is a distinct form of liquid-to-gas change. Wet clothes can dry without reaching the boiling point.
Why can droplets appear on the outside of a cold cup? Under suitable conditions, water vapour in surrounding air can cool and condense into liquid droplets. The explanation should match the situation rather than assume every wet surface has one cause.
Are clouds made entirely of visible water vapour? No. Visible clouds include tiny liquid droplets or ice crystals, whereas gaseous water vapour itself is not directly visible under ordinary conditions.
Should families boil water for Science demonstrations at home? Unsupervised boiling, steam and pressure experiments create avoidable risks. Use school-supervised practical work and safe paper-based reasoning instead.
What demonstrates progress? A child can read a new temperature graph, identify heat-transfer direction, select the correct state change and explain the water cycle without copying a memorised sentence.
Your next step: explain one safe change of state
Use a teacher-approved diagram of ice, liquid water or the water cycle. Ask which state is present before and after, whether heat is gained or lost under the stated conditions and which measurement or observation supports the explanation. Repeat on an unfamiliar example without involving hot or hazardous apparatus.
Official sources and related learning
MOE — Primary Science Teaching and Learning Syllabus 2023
SEAB — 2026 PSLE Science Syllabus
MOE — Primary Curriculum and Science
eduKateSG — Primary Science Inquiry and Safe Everyday Observations
eduKateSG — PSLE Science Graphs and Open-Ended Explanations
eduKateSG — Secondary Science Laboratory Safety and Practical Skills
eduKateSG — Secondary 1 Mathematics Tutor Clementi | Small Groups Tutorials
Arrange a parent–student consultation
eduKateSG offers premium three-student small-group academic tutorials at 8 Fourth Avenue, Singapore 268674, near Sixth Avenue MRT, by appointment. Toa Payoh families can bring a Primary Science question involving heat, temperature or changes of state to identify a precise conceptual misunderstanding. Confirm subject suitability and travel arrangements directly.
Properly taught kids shine a bright light into the future.